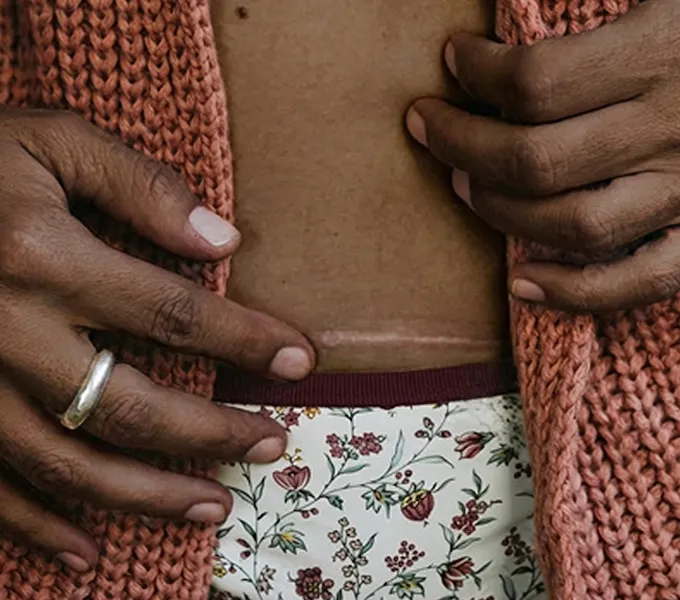
After a cesarean birth, it’s normal to just want to forget about your scar and focus on caring for your baby. And unfortunately, given how little information you’re likely to get about the importance of proper scar care, that can be easy to do. At Origin, we know how critical scar care can be, not just for your physical health, but also for nurturing your connection to and relationship with your postpartum body.
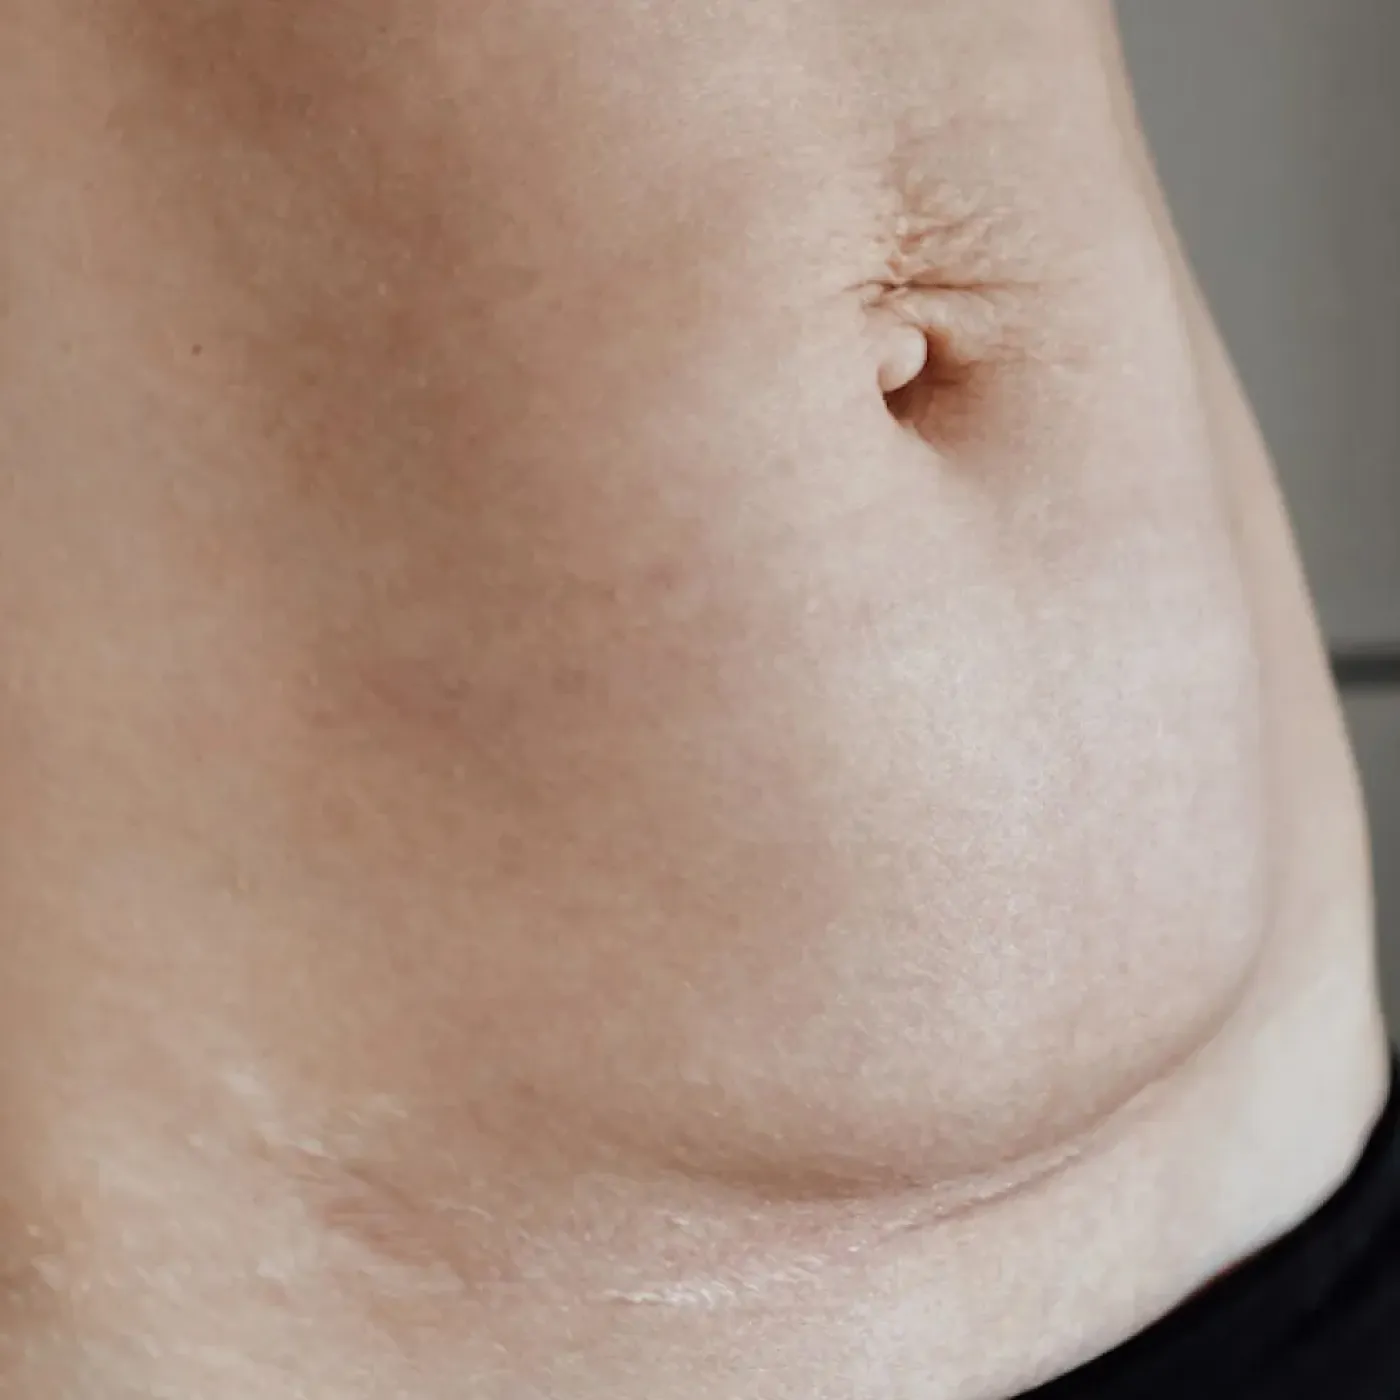
While it's critical for healing your cesarean incision, the development of deep abdominal scar tissue can lead to pain, restricted movement, and adhesions. In some cases, scar complications can also contribute to mechanical infertility and gastrointestinal issues. More common complications include numbness, tightness, or the cesarean “shelf belly” that occurs when flesh hangs over the scar.
It doesn’t have to be that way. Scar tissue massage can help prevent these complications from happening. You’ll get the most benefits from scar massage when working with a physical therapist who specializes in whole-body postpartum care, but you can also get started on your own.
First, it’s important to know that scar massage should not be performed if any of the following are true:
- You’re less than 6 weeks postpartum
- Your incision isn’t fully healed / still has scabbing
- You have severe pain during or after massage
- You experience sweating, shortness of breath, lightheadedness, feeling faint, or a rush of anxiety during massage
- Your scar reopens during massage (stop and let your physician or physical therapist know before continuing)
Getting Started with Scar Desensitization
Sometimes the skin on and around a healed incision can be highly sensitive, easily irritated, and even painful. It can also feel really difficult emotionally, to touch your scar for the first time. If any of these are true, gentle desensitization and mobilizing techniques are a great place to begin. They'll ease you into scar tissue mobilization and help you feel more comfortable touching your scar.
Whenever you touch a newly healed scar, make sure that you have clean, dry hands. Scar massage can be done lying down on a bed with your knees bent, or completed in the shower or bath if that is more convenient. Then try this technique at least once daily:
- Gently tap, brush or rub the area around and on your scar with the pads of your fingers, or a soft cotton ball.
- As this touch becomes non-painful and more comfortable, progress by tapping, brushing or rubbing the area with different, progressively “rougher” textures: silk > cotton > terry cloth > paper towel > soft Velcro > corduroy > a soft loofah.
3 Ways to Massage Your C-Section Scar
As you get more comfortable touching your scar and it starts to become less sensitive, you can try a mobilizing massage. The goal is to get the tissue moving so that it moves and stretches just like the rest of your skin. The more you touch and move your scar, the softer and more flexible it will become.
The more you touch and move your scar, the softer and more flexible it will become.
While you are doing a scar massage, you are likely to feel a pulling or mild burning sensation with the stretch, but don’t let that discourage you! Some discomfort is OK but if you feel sharp or stabbing pain, decrease the pressure or pause massage until you can check in with your healthcare professional to see what could be causing your pain.
1. Sustained Holds
- With firm pressure at one end of your scar, place the pads of 1-3 fingers directly on your scar with firm pressure.
- Keeping pressure, move your scar up and down, stretching the tissues in either direction with sustained holds.

- Continue stretching the scar in this way, moving it in all directions (side-to-side and then diagonally) in this same manner. Hold the areas at the end range of your stretch, for several moments longer if a particular direction feels tighter than the others.

- Continue stretching the scar, slowly moving along, until you’ve covered its entire length.
2. Circular Massage
- Starting at the end of your scar again and place the pads of 1-3 fingers directly on your scar with firm pressure.
- Move the skin and tissue below it in slow, continuous circles with firm pressure. Aim for big circles — both clockwise and counterclockwise — moving the skin as much as you’re able.
.png)
- Move incrementally along the entire length of your scar, repeating the above steps.
3. Lift & Rolls
- Starting at one end of your scar, pinch your scar between your forefinger and thumb and roll the scar between your fingers

- Continue along the entire length of your scar.
For more specific guidance on how to perform a cesarean section scar massage and to help you address any other symptoms that may come up in the postpartum period, we are here to help. Our pelvic health physical therapists can evaluate your scar, assess your symptoms, and help you to create your best post-cesarean section action plan.